Error 0x80240fff in Windows 10 is concerned with the Windows Update. It happens when there is some problem related to the installation of updates. The users will be able to see the error in the Windows Update menu present in the settings menu under update and security when you check for new updates manually. The error message which usually appears is as follows: There were some problems installing updates, but we’ll try again later. If you keeping seeing this and want to search the web or contact support for information, this may help (0x80240fff). Why Error 0x80240fff appears in Windows 10? The error appears when Windows fails an automatic check for the new updates. It implies that it cannot even search or find new updates. It really teases people when Windows 10 fails to update on PCs. Things may even get uglier when Windows users receive error codes like 0x80240fff. Though, you don’t need to worry anymore as I am going to tell you about some methods through which you will be able to get rid of Error 0x80240fff. So here is the following guide.
How to Fix 0x80240fff Update Error Code in Windows 10?
Temporarily Pause the Windows Update: You will be surprised to know that the most simple and common fix for the 0x80240fff Windows Update error is to delay updates for some days. The feature enables you to temporarily pause Windows Update. It proves to be very beneficial when you don’t want your PC to automatically restart or make any changes in the midst of important tasks. To temporarily pause the windows update, you need to follow these steps.
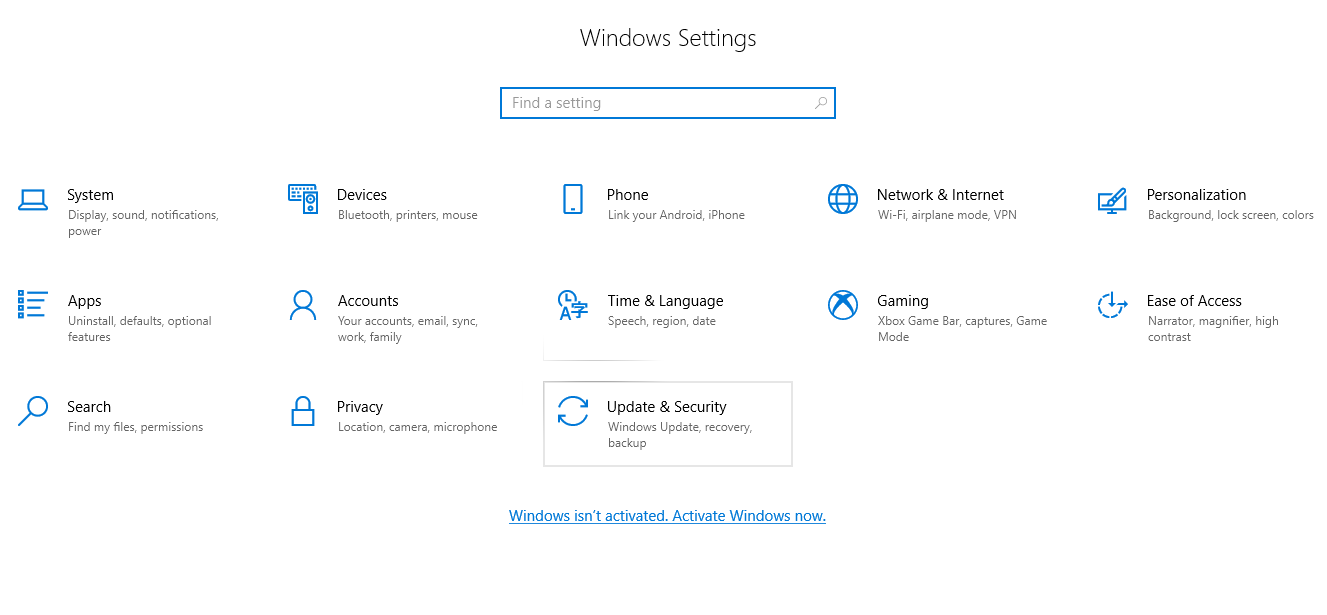
Go to setting menu and click on update and security as shown in the image.
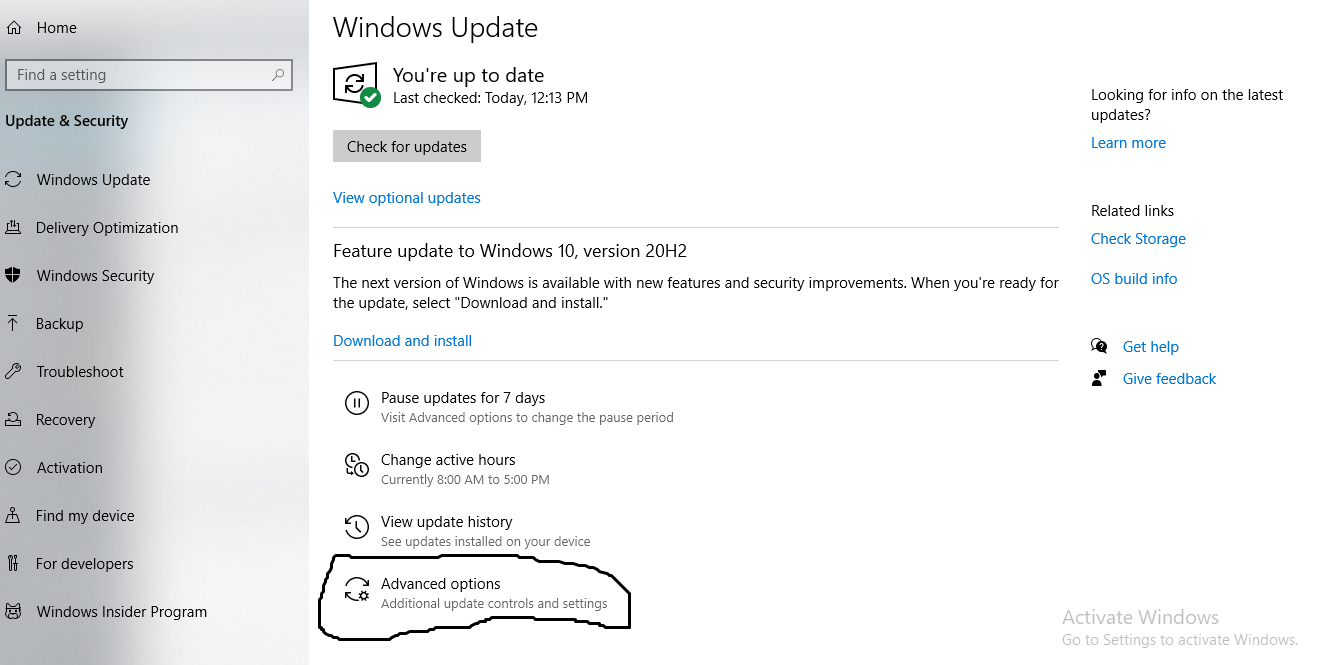
In the Update and Security Menu, click on the Windows Update and then click on Advanced options.
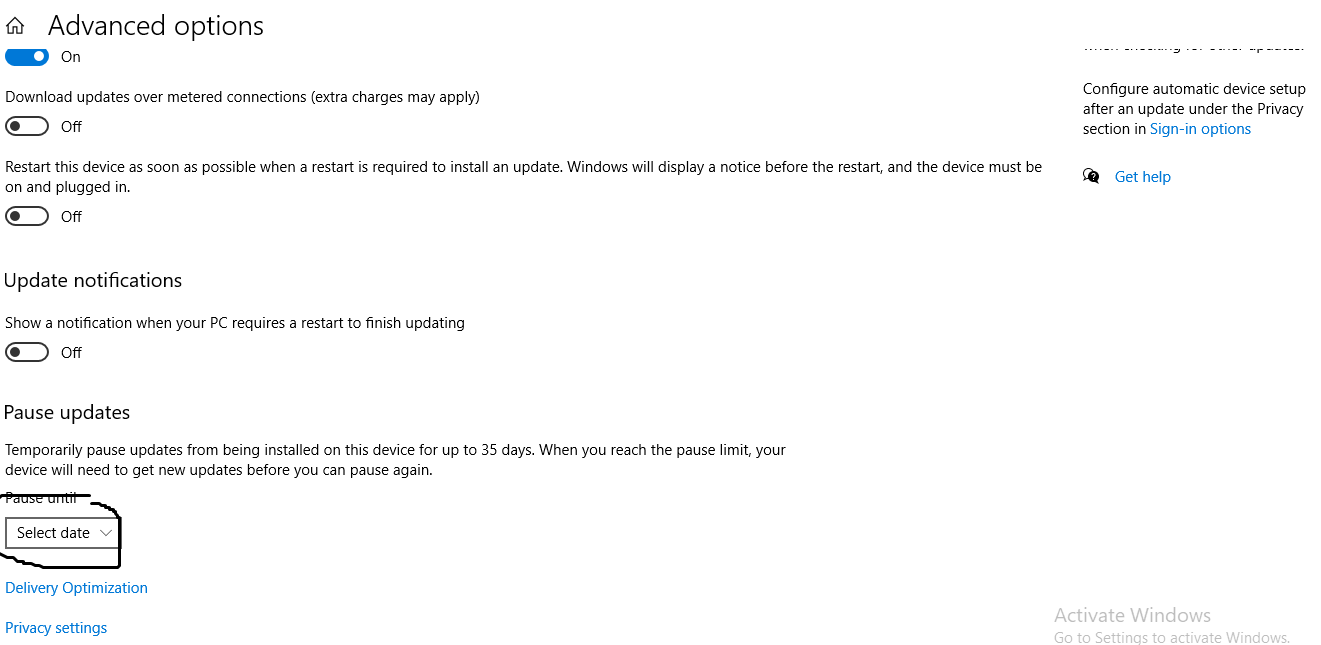
Now at the corner of the page, you’ll be able to see a Pause updates header. Click on the slider to select a date as shown in the image. Consequently, Windows won’t install any updates until the selected time.
A number of people have given positive feedback regarding the efficacy of this method to fix error 0x80240fff. But if you are still facing the problem, try our next remedy. Point to remember: You don’t want to defer security updates for too long due to privacy concerns. However, try pausing for 2-3 days, and check if the problem is resolved or not. Restart your Computer: The Error 0x80240fff can also be fixed by simply rebooting your PC to remove any momentary glitches that might induce this error. As your PC gets restarted, you must make sure that it isn’t facing a wider network issue, which will stop it from downloading Windows updates. You can check that by visiting different websites. Run Windows Update Troubleshooter: The most captivating thing about Windows 10 is that it includes a wide range of built-in troubleshooting tools that can assist in solving common problems in a variety of areas. However, they are not always effective but you can give them a try if you are facing any issue. In order to use the Windows Update troubleshooting tool, follow these steps:
Go to the settings menu and click on the Update and Security.
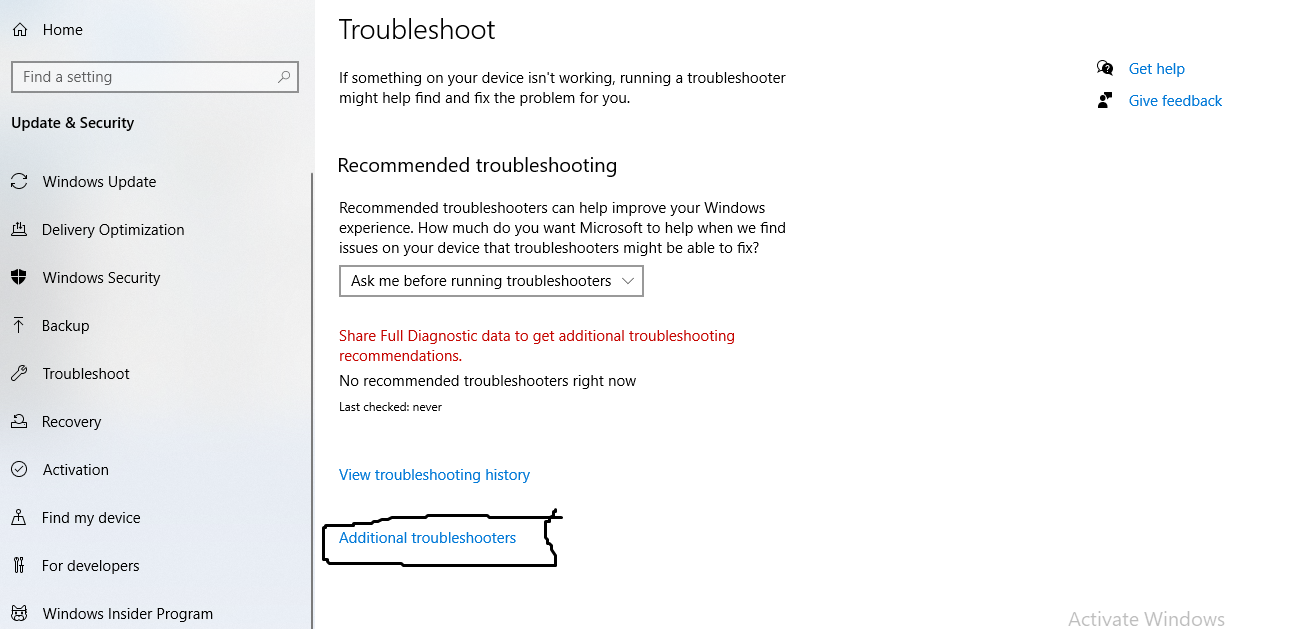
Then from the list on the left side, tap on troubleshoot as shown in the image.
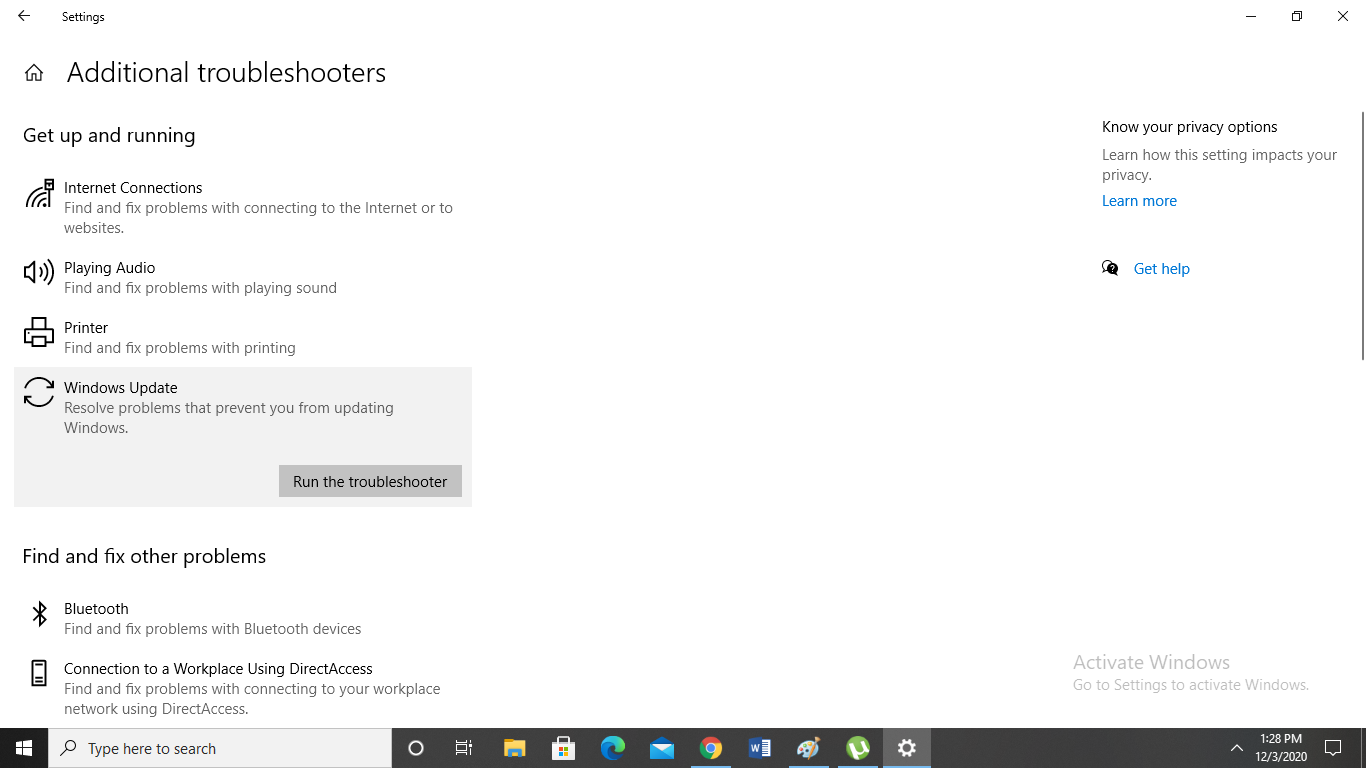
In the troubleshoot menu, click on the additional troubleshooter link.
Now from this menu click on the Windows Update and it will slide down and afterwards click on the Run the troubleshooter option as shown in the image. Restart the Windows Update Services: Windows Update is dependent on a number of background services, so it will fail if one of those services is malfunctioning. Now after trying many things if you are still getting error 0x80240fff, you should try restarting few services that may have failed. To do that, follow these steps:
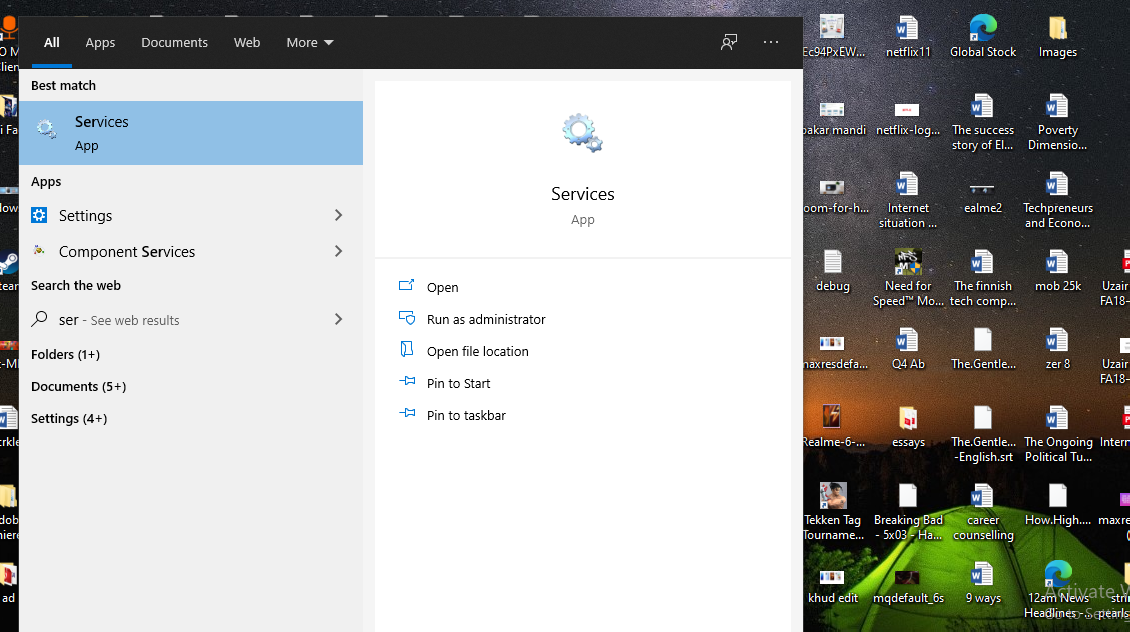
First, type Services into the Start menu, and afterwards open the Services menu from the results.
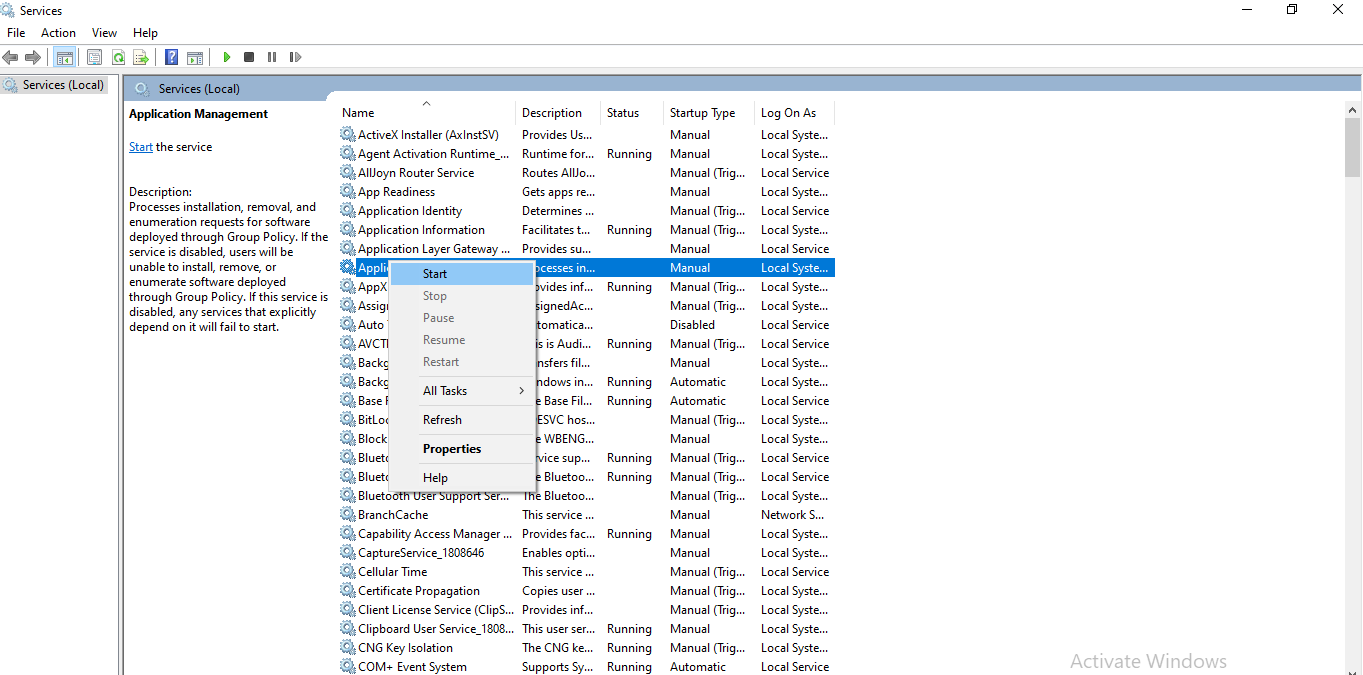
After clicking on the services menu, it will open a comprehensive list of services. In the list, if you see that is service is already running, right-click on it and choose Restart. On the contrary, if it’s not running, right-click it and choose Start as illustrated in the image.
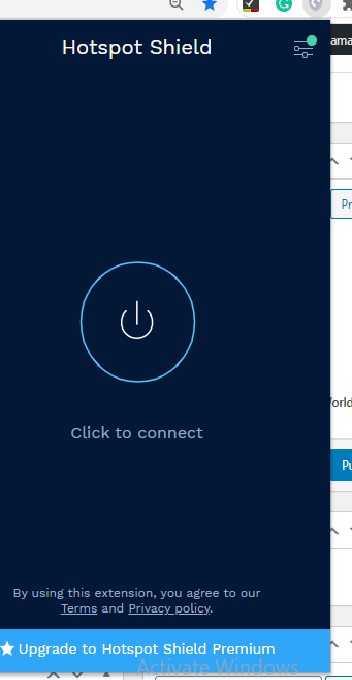
After doing that, try running Windows 10 update again. It may have solved your problem. Disable VPN connections: When a VPN is enabled on your PC, it affects all of the connections and there’s a strong possibility that your VPN is preventing the checking for Windows Updates. If nothing mentioned above has fixed your problem yet and you use a VPN, disable it before checking for updates again.
Run the System File Checker: When you are facing problems with any main Windows element, the SFC (system file checker) tool is an essential troubleshooting tool. The SFC basically checks for corrupted Windows system files and attempts to fix them.
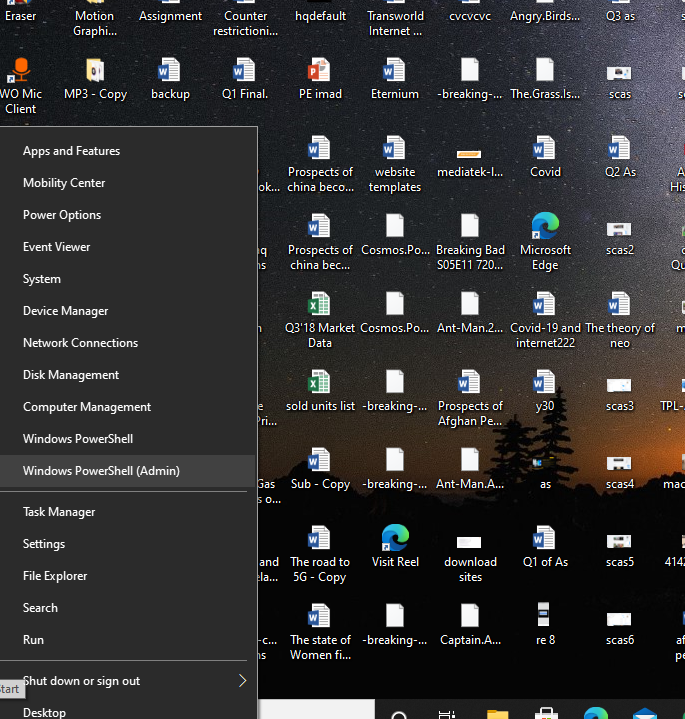
To run the System File Checker, right-click on the start button and choose Windows PowerShell (Admin) from the list. Once there, type the following key: sfc /scannow This will run a scan and display the outcomes when it’s done. Conclusion: Use all of the above-mentioned methods and most probably it will fix your error. If not then you should reinstall updated Windows 10 on your PC. Check out? How to create Emoji Mashup Stickers on Gboard?